Are you craving the perfect crispy restaurant-style Blooming Onion Rings? You’re in the right place! In this guide, I’ll share my secret steps to make these delicious snacks at home. From choosing the best onions to tips for that extra crunch, you’ll master this classic appetizer. Get ready to impress your friends and family with a dish they’ll love. Let’s dive in and get cooking!
Why I Love This Recipe
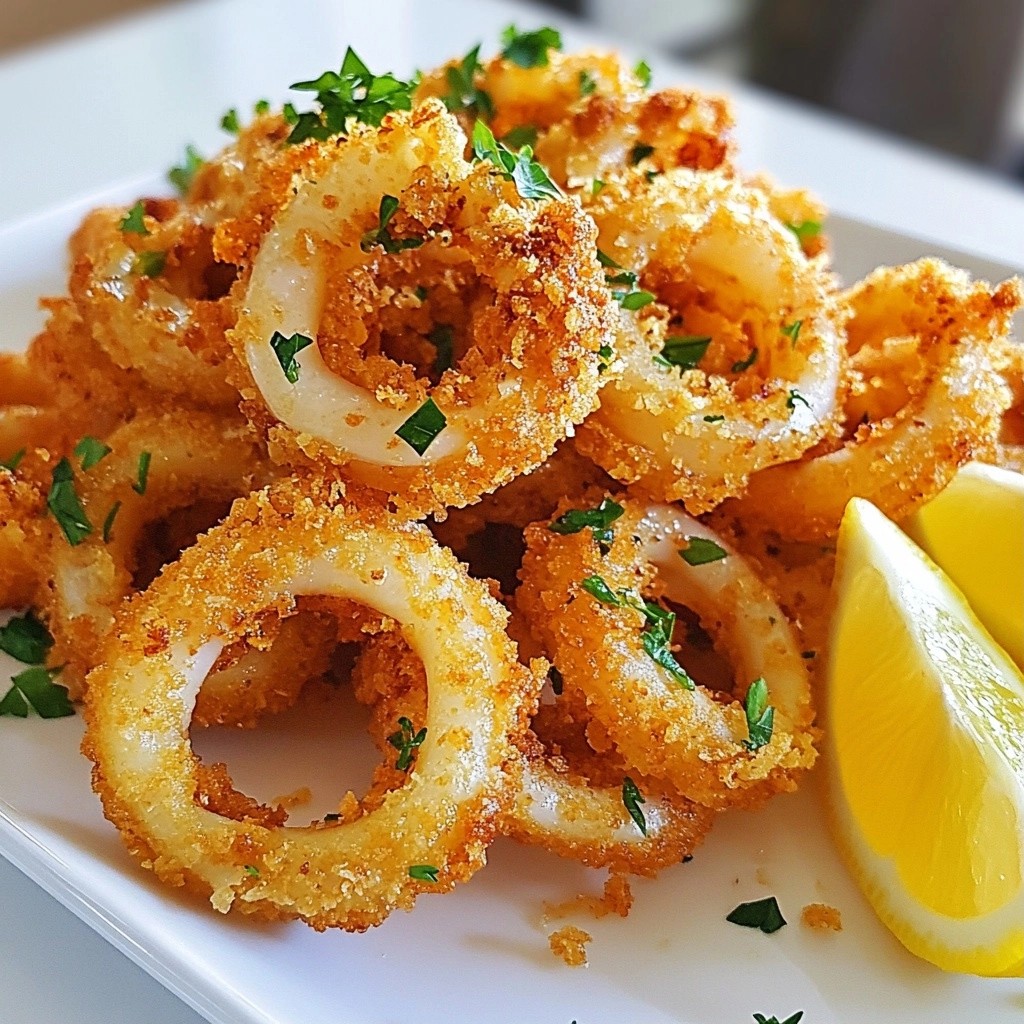
- Crispy Perfection: The double coating of flour and breadcrumbs ensures that each petal is incredibly crispy, making it a delightful treat.
- Flavorful Spices: The combination of paprika, garlic powder, and cayenne pepper adds a delicious kick to the sweetness of the onion.
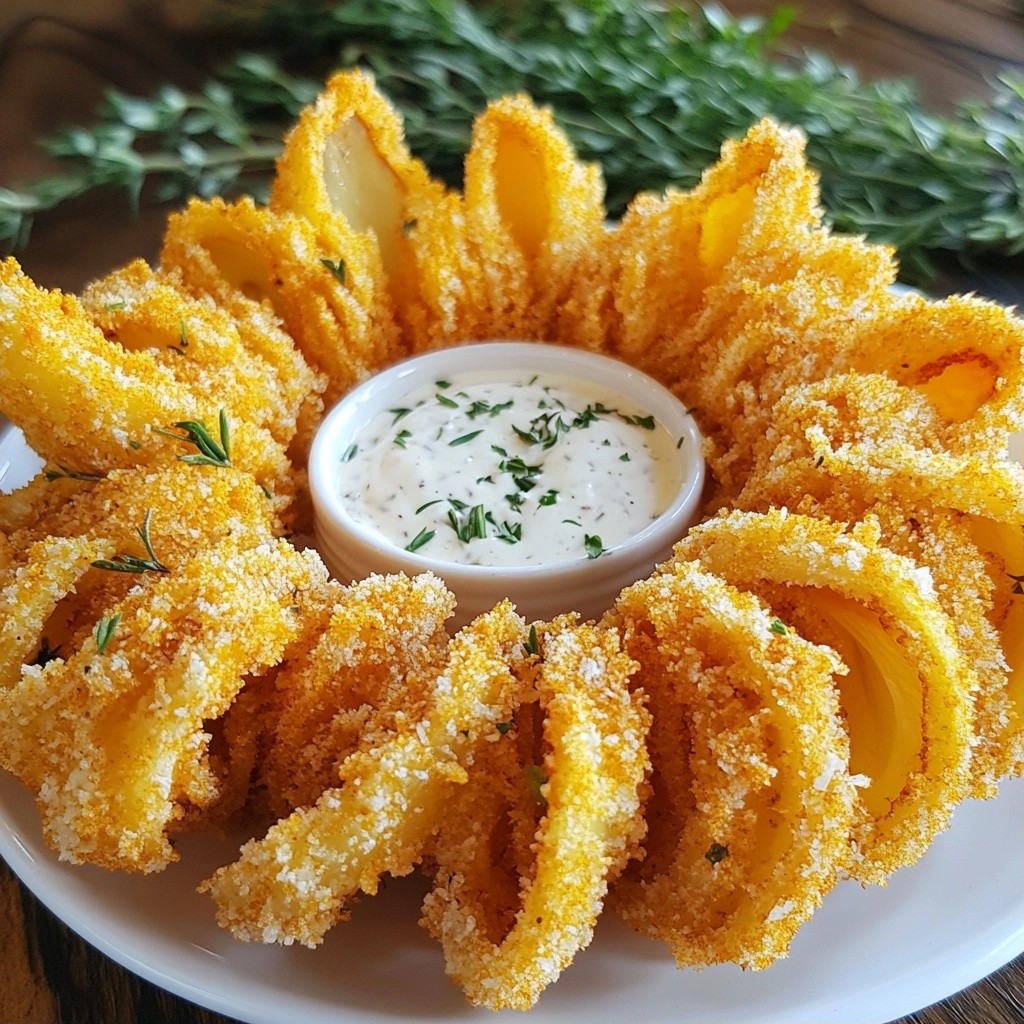
- Impressive Presentation: The blooming effect of the onion makes for a stunning appetizer that is sure to wow your guests.
- Customizable Dipping Sauces: Pair it with your favorite dipping sauce, such as spicy ranch or garlic aioli, for an extra layer of flavor.
Ingredients
List of Ingredients
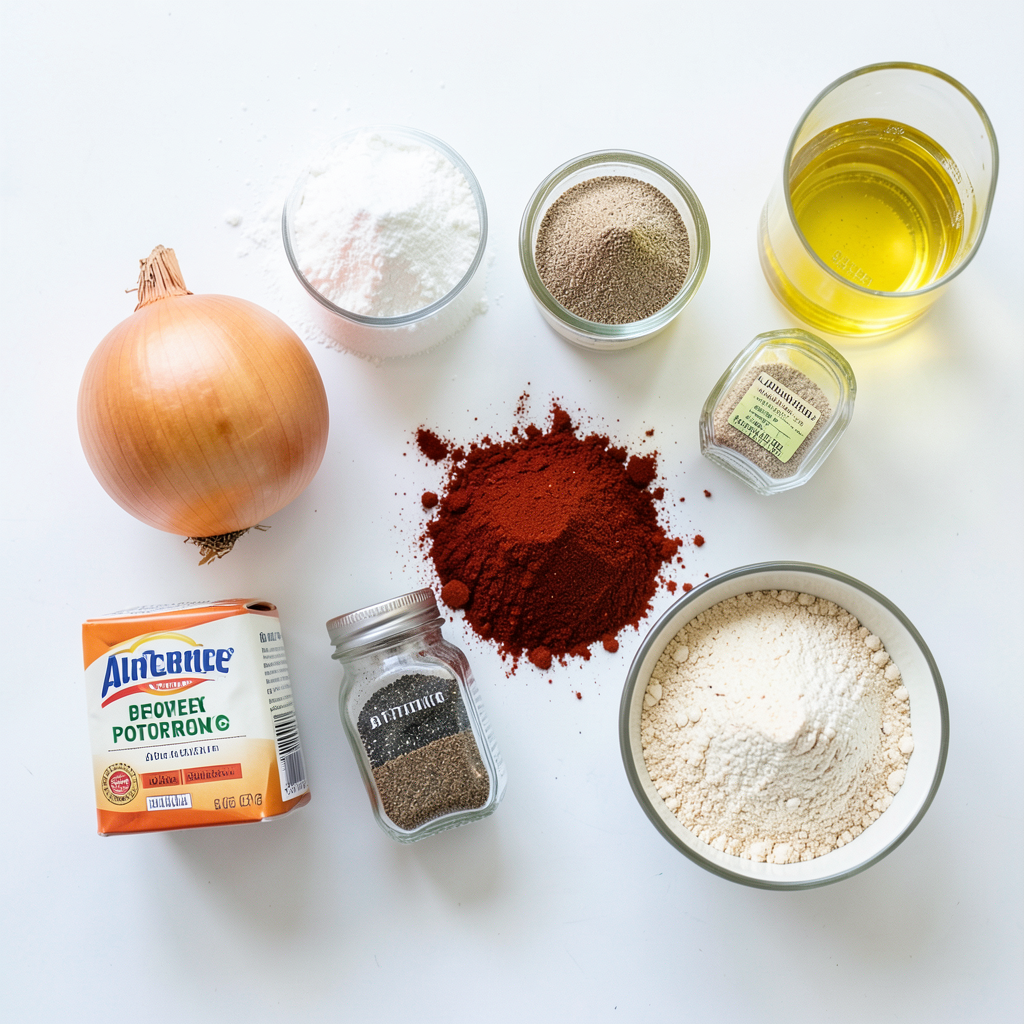
- 1 large sweet onion (such as Vidalia or Walla Walla)
- 1 cup all-purpose flour
- 1 teaspoon paprika
- 1 teaspoon garlic powder
- 1 teaspoon onion powder
- 1 teaspoon cayenne pepper (adjust to taste)
- 1 teaspoon salt
- 1/2 teaspoon black pepper
- 1 cup buttermilk
- 1 cup breadcrumbs (Panko for extra crunch)
- Vegetable oil for frying
To make crispy restaurant-style blooming onion rings, you need a few key ingredients. Start with a large sweet onion. I like to use Vidalia or Walla Walla onions for their mild flavor. These onions taste great and make the rings look beautiful.
Next, gather your dry ingredients. All-purpose flour is essential for coating. I mix the flour with paprika, garlic powder, onion powder, cayenne, salt, and black pepper. This mixture gives the onion rings a nice kick.
Buttermilk is another vital ingredient. It adds moisture and flavor. You will also need breadcrumbs for that perfect crunch. I prefer Panko breadcrumbs for extra crispiness.
Finally, you need vegetable oil for frying. This oil should be heated to the right temperature to ensure the rings fry evenly and become golden brown. With these ingredients ready, you can create a tasty appetizer that rivals any restaurant!
Step-by-Step Instructions
Preparing the Onion
Start by peeling your large sweet onion. Cut about 1 inch off the top, but keep the root end intact. This will help hold the onion together. Remove the outer layer, then place the onion cut-side down on a cutting board. Slice it into 12 to 16 wedges, being careful not to cut all the way through. Once you finish, gently separate the petals to create that lovely blooming effect.
Creating the Coating
In a large bowl, mix the dry ingredients for your batter. Combine 1 cup of all-purpose flour, 1 teaspoon of paprika, 1 teaspoon of garlic powder, 1 teaspoon of onion powder, 1 teaspoon of cayenne pepper (you can adjust this to your taste), 1 teaspoon of salt, and 1/2 teaspoon of black pepper. This mix will give your onion rings great flavor and crunch.
Dipping and Coating Process
Next, set up your dipping stations. Place one bowl of buttermilk and another bowl with your flour mixture. Dip the blooming onion into the buttermilk, making sure each petal gets coated. Then, dredge the onion in the flour mix, shaking off any excess. For extra crispiness, repeat this process to double coat the onion.
Frying the Onion
Now it's time to fry! Heat vegetable oil in a deep frying pan or fryer to 350°F (175°C). Carefully lower the coated onion into the hot oil. You may want to fry in batches to avoid crowding. Fry for about 4 to 6 minutes, or until the onion is golden brown and crispy.
Draining and Serving
When the onion is done, use a slotted spoon to remove it from the oil. Drain it on a paper towel-lined plate to get rid of excess oil. For a nice presentation, serve the blooming onion on a plate lined with fresh herbs. Add a small bowl of your favorite dipping sauce in the center, like spicy ranch or garlic aioli. Enjoy your crispy restaurant-style blooming onion rings!
Tips & Tricks
Choosing the Right Onion
To make the best blooming onion rings, you need the right onion. I love using sweet onions, like Vidalia or Walla Walla. These onions have a mild taste and are juicy. When picking your onion, look for one that feels firm and heavy. Avoid any that have soft spots or blemishes. The right onion helps create a great flavor and texture.
Achieving Maximum Crispiness
Crispiness is key for blooming onion rings. I always use Panko breadcrumbs. These breadcrumbs give a crunchier texture than regular ones. They help the onion stay crispy even after frying.
Watch the oil temperature closely. Heat your oil to 350°F (175°C) for the best results. If the oil is too hot, the outside burns before the inside cooks. If it's too cool, the coating absorbs too much oil, making it soggy. A thermometer is your best friend here!
Dipping Sauce Suggestions
The right dipping sauce can take your blooming onion rings to the next level. I recommend spicy ranch or garlic aioli for a tasty kick. For a classic touch, try ketchup or a tangy barbecue sauce. You can also mix up your own sauce by blending mayo with your favorite spices. Get creative and find what you love!
Pro Tips
- Choose the Right Onion: Using a sweet onion like Vidalia or Walla Walla enhances the flavor and sweetness of your blooming onion, making it more delicious.
- Double Coating for Extra Crunch: For an extra crispy texture, double coat the onion by repeating the buttermilk and flour mixture process before adding the breadcrumbs.
- Control the Oil Temperature: Maintaining the oil at 350°F (175°C) is crucial for achieving that perfect golden brown color without overcooking the onion.
- Experiment with Flavors: Feel free to customize the spice blend in the flour mixture, adding your favorite seasonings like Italian herbs or a dash of lemon zest for a unique twist.
Variations
Flavor Variations
You can add spices to make your blooming onion rings even better. Try adding herbs like oregano or thyme for a fresh taste. If you like heat, adding more cayenne pepper gives a nice kick. For a smoky flavor, smoked paprika works well too. Mix and match spices to find your favorite blend. Experimenting makes cooking fun and tasty!
Oven-Baked Blooming Onion Rings
If you want a healthier dish, you can bake the onion rings. Start by preheating your oven to 400°F (200°C). After coating the onion, place it on a baking sheet lined with parchment paper. Spray the onion lightly with cooking oil. Bake for about 20-25 minutes, flipping halfway. You want them golden brown and crispy. This method cuts down on oil but still gives great taste.
Gluten-Free Option
You can easily make gluten-free blooming onion rings. Use gluten-free flour instead of all-purpose flour. For the breadcrumbs, try crushed gluten-free crackers or cornmeal. These substitutes keep the crispiness while making the dish safe for those with gluten issues. Enjoy your delicious blooming onion rings without worry!
Storage Info
Storing Leftovers
To keep your crispy blooming onion rings fresh, let them cool first. Place them in an airtight container. Store them in the fridge for up to three days. To avoid sogginess, do not stack them on top of each other. Instead, use parchment paper between layers if needed. This keeps them from sticking and helps maintain their shape.
Reheating Tips
When you're ready to enjoy leftovers, reheating is key. Preheat your oven to 350°F (175°C). Place the onion rings on a baking sheet. Bake for about 10-15 minutes. This method helps restore their crispiness. Avoid the microwave, as it makes them soft. For an extra crunch, broil them for a minute or two at the end. Enjoy the same great taste as when they were fresh!
FAQs
How do I ensure my onion rings are crispy?
To get crispy onion rings, focus on a few key steps. First, avoid soggy batter. Double coat the onion with buttermilk and flour. This extra layer helps. Second, use Panko breadcrumbs. They add more crunch than regular ones. Third, watch the oil temperature. Keep it around 350°F (175°C). Too low will make them greasy. Finally, don’t crowd the pan. Fry in batches so heat stays even.
Can I make these ahead of time?
Yes, you can prep some parts ahead of time. Slice the onion and coat it in the dry mix. Store it in the fridge to keep it fresh. You can also prepare the buttermilk dip. Just combine it in a bowl and keep it covered. When you are ready, dip and fry for a fresh taste.
What is the best oil for frying?
The best oil for frying is one with a high smoke point. Vegetable oil works well. It has a nice flavor and stays stable at high heat. You can also use peanut oil. It adds a slight nutty taste. Avoid oils like olive oil. They can burn and affect the taste.
You now know how to make perfect blooming onion rings. We covered ingredients, from sweet onions to breadcrumbs. You learned step-by-step instructions for preparation, coating, and frying. We explored tips for maximum crispiness and flavor variations, plus storage info.
Blooming onion rings can impress any crowd. With practice, you’ll master this dish. Enjoy your cooking and savor the flavors!