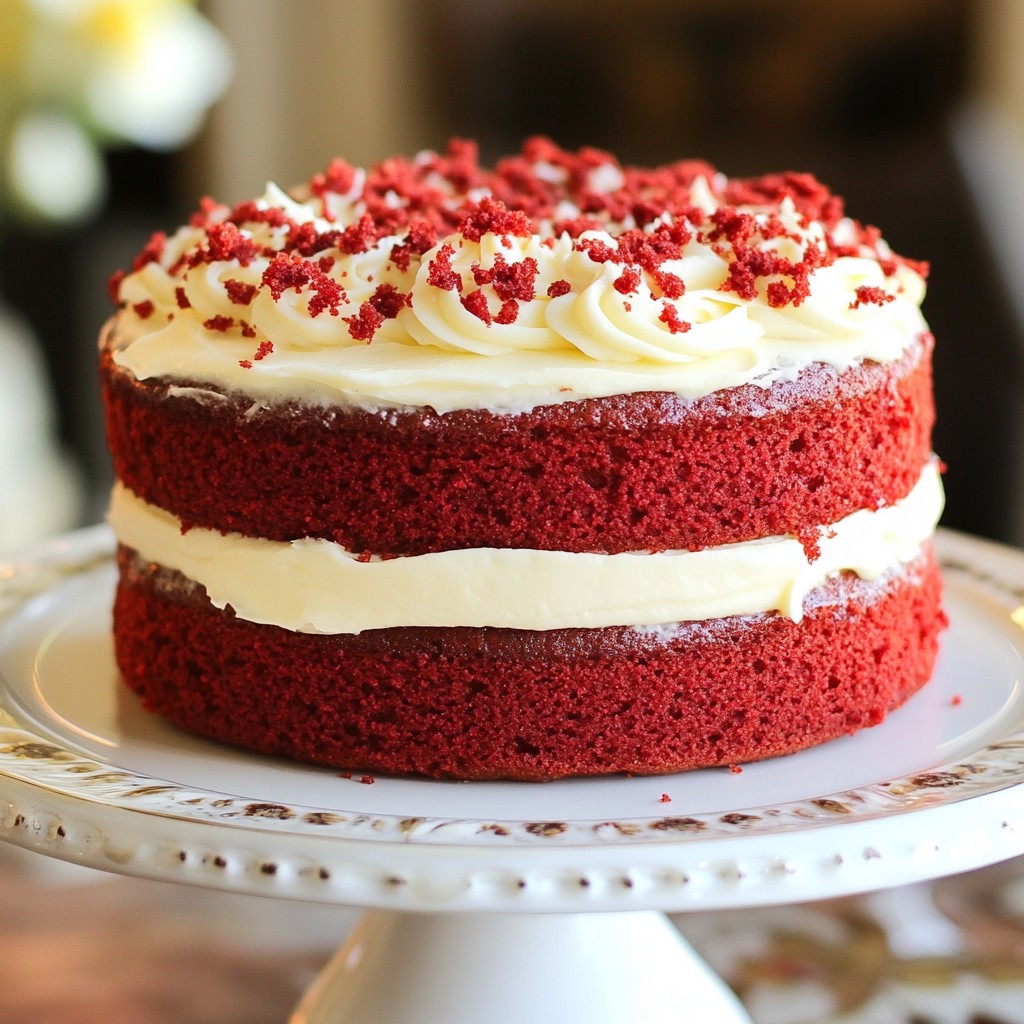
Are you ready to bake a stunning red velvet cake that’s as fluffy as a cloud? In this post, I’ll share my favorite copycat recipes that promise that beautiful flavor and texture without any fuss. You’ll find step-by-step instructions, tips for success, and even variations to make it your own. Let's dive into the world of red velvet and create a cake that dazzles and delights!
Why I Love This Recipe
- Unique Flavor: The combination of cocoa powder and red food coloring brings a delightful twist to traditional cake flavors.
- Visual Appeal: The vibrant red color makes this cake a stunning centerpiece for any celebration or gathering.
- Moist Texture: Using buttermilk and oil ensures that the cake remains incredibly moist and tender, making every bite irresistible.
- Easy to Make: This recipe has straightforward steps, making it accessible even for novice bakers.
Ingredients
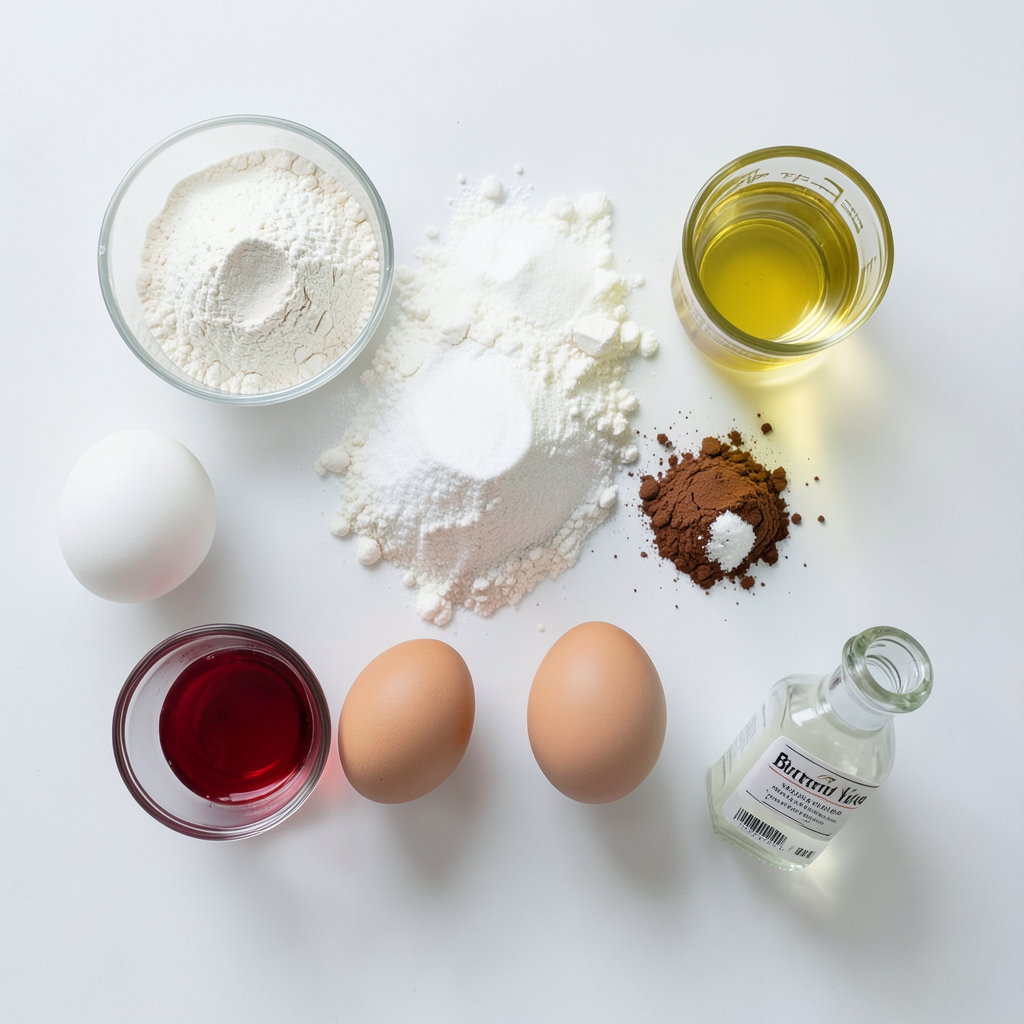
List of Ingredients
- 2 ½ cups all-purpose flour
- 1 ½ cups granulated sugar
- 1 teaspoon baking soda
- 1 teaspoon salt
- 1 tablespoon cocoa powder
- 1 cup vegetable oil
- 1 cup buttermilk, at room temperature
- 2 large eggs, at room temperature
- 2 tablespoons red food coloring
- 1 teaspoon vanilla extract
- 1 teaspoon white vinegar
Measurements and Substitutions
When making red velvet cake, precise measurements matter. Use a kitchen scale for accuracy. If you don't have buttermilk, you can make your own. Mix 1 cup of milk with 1 tablespoon of vinegar or lemon juice. Let it sit for five minutes. For a lighter cake, you can replace some oil with unsweetened applesauce.
Essential Tools Required
To bake this cake, you will need some basic tools:
- Two 9-inch round cake pans
- Mixing bowls (one large and one medium)
- Whisk for mixing
- Sifter for dry ingredients
- Rubber spatula for folding batter
- Toothpick for testing doneness
- Wire rack for cooling the cakes
These tools help you create the perfect fluffy red velvet cake. Having them ready makes the process smooth and enjoyable.
Step-by-Step Instructions
Preparing the Oven and Pans
First, set your oven to 350°F (175°C). This heat helps the cake rise well. Next, grease two 9-inch round cake pans with butter. Then, sprinkle flour in each pan. This step keeps the cake from sticking.
Mixing Dry Ingredients
Grab a large bowl. Sift together 2 ½ cups of all-purpose flour, 1 ½ cups of granulated sugar, 1 teaspoon of baking soda, 1 teaspoon of salt, and 1 tablespoon of cocoa powder. Sifting makes sure there are no lumps. Mix well until everything is combined.
Combining Wet Ingredients
In another bowl, whisk together 1 cup of vegetable oil, 1 cup of buttermilk, 2 large eggs, 2 tablespoons of red food coloring, 1 teaspoon of vanilla extract, and 1 teaspoon of white vinegar. Whisk until smooth. Each liquid adds flavor and moisture to the cake.
Baking the Cakes
Slowly pour the wet mixture into the dry mix. Stir gently until there are no lumps. Be careful not to overmix; this keeps the cake fluffy. Next, divide the batter evenly between the two prepared pans. Bake for 25-30 minutes. Check if the cakes are done by inserting a toothpick. If it comes out clean, they are ready.
Cooling the Cakes
After baking, let the cakes cool in the pans for 10 minutes. Then, carefully remove them from the pans. Place them on a wire rack to cool completely. This step helps keep the cakes from getting soggy. Enjoy the sweet smell as they cool!
Tips & Tricks
Achieving the Perfect Fluffy Texture
To make your red velvet cake light and fluffy, use room temperature ingredients. This helps the batter mix well. Sift the dry ingredients to remove lumps. This step adds air to the mix. When you mix wet and dry ingredients, do it gently. Overmixing can make the cake dense.
Common Mistakes to Avoid
One mistake is not measuring ingredients correctly. Use measuring cups and spoons for accuracy. Another issue is using cold eggs or buttermilk. Cold ingredients can affect how the cake rises. Also, avoid opening the oven door while baking. This can let out heat and ruin the cake's rise.
Best Practices for Mixing and Baking
Mix your batter just until combined. A few lumps are okay; don’t worry! Make sure your oven is preheated before baking. Grease and flour your pans well to prevent sticking. Bake your cakes on the middle rack for even heat. Check for doneness with a toothpick; it should come out clean.
Pro Tips
- Use Room Temperature Ingredients: Ensure that your buttermilk and eggs are at room temperature before mixing. This helps create a smoother batter and allows for better incorporation of ingredients, resulting in a lighter cake.
- Don't Overmix the Batter: Gently combine the wet and dry ingredients until just mixed. Overmixing can lead to a dense cake, so stop as soon as no dry flour is visible.
- Check for Doneness: Since oven temperatures can vary, start checking your cakes at the 25-minute mark. Insert a toothpick in the center, and if it comes out clean or with a few moist crumbs, your cakes are done.
- Cool Completely Before Frosting: Allow your cakes to cool completely on a wire rack before frosting. This prevents the frosting from melting and helps achieve a neater, more professional finish.
Variations
Alternative Frosting Options
You can change the frosting for your red velvet cake. Cream cheese frosting is classic, but you can try others too. Here are some fun ideas:
- Buttercream Frosting: Use butter, powdered sugar, and milk for a sweet treat.
- Whipped Cream: Light and airy, it adds a nice touch.
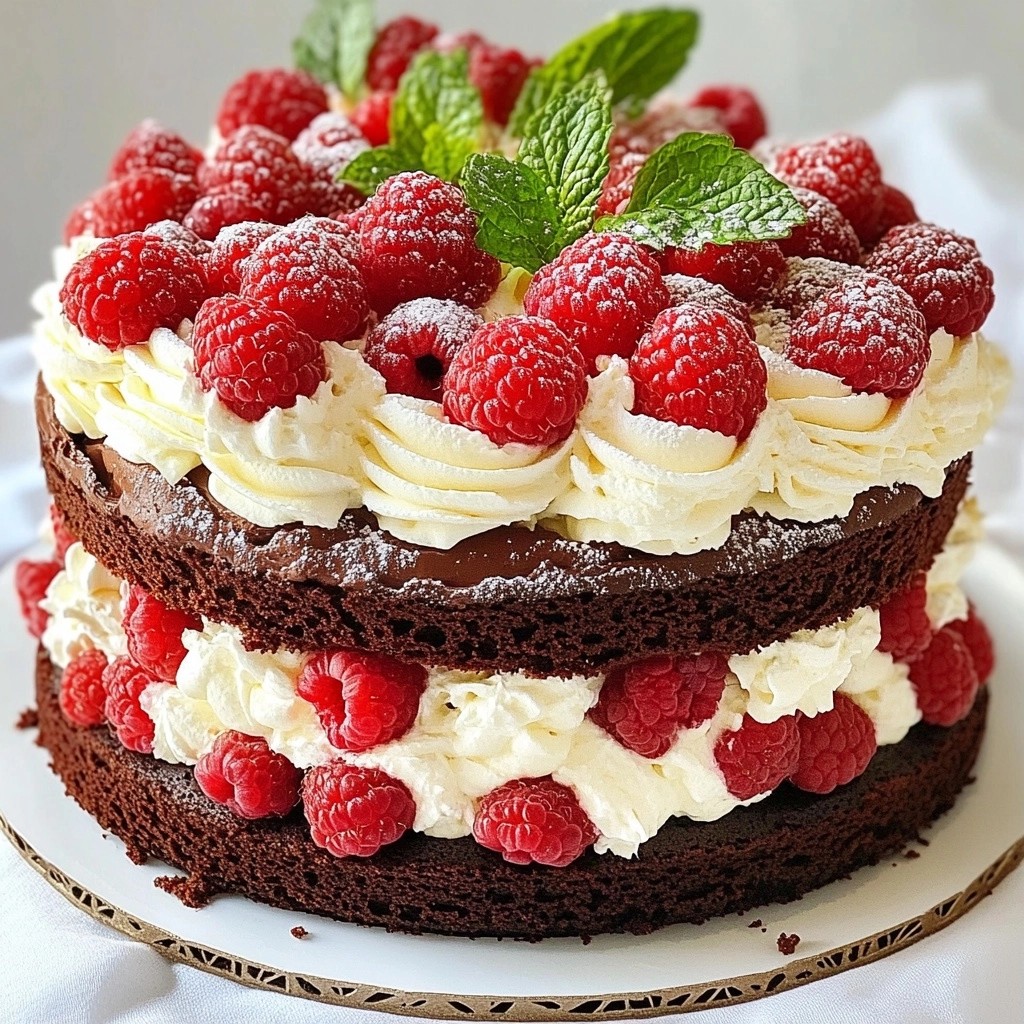
- Chocolate Ganache: Melt chocolate with cream for a rich flavor.
- Mint Frosting: Mix in mint extract for a fresh twist.
Adding Flavors and Fillings
Want to add more fun to your cake? You can mix in flavors or fillings! Here are some easy ideas:
- Coconut: Add shredded coconut to the batter for a tropical twist.
- Orange Zest: A bit of orange zest gives a nice citrus hint.
- Chocolate Chips: Fold in mini chocolate chips for extra sweetness.
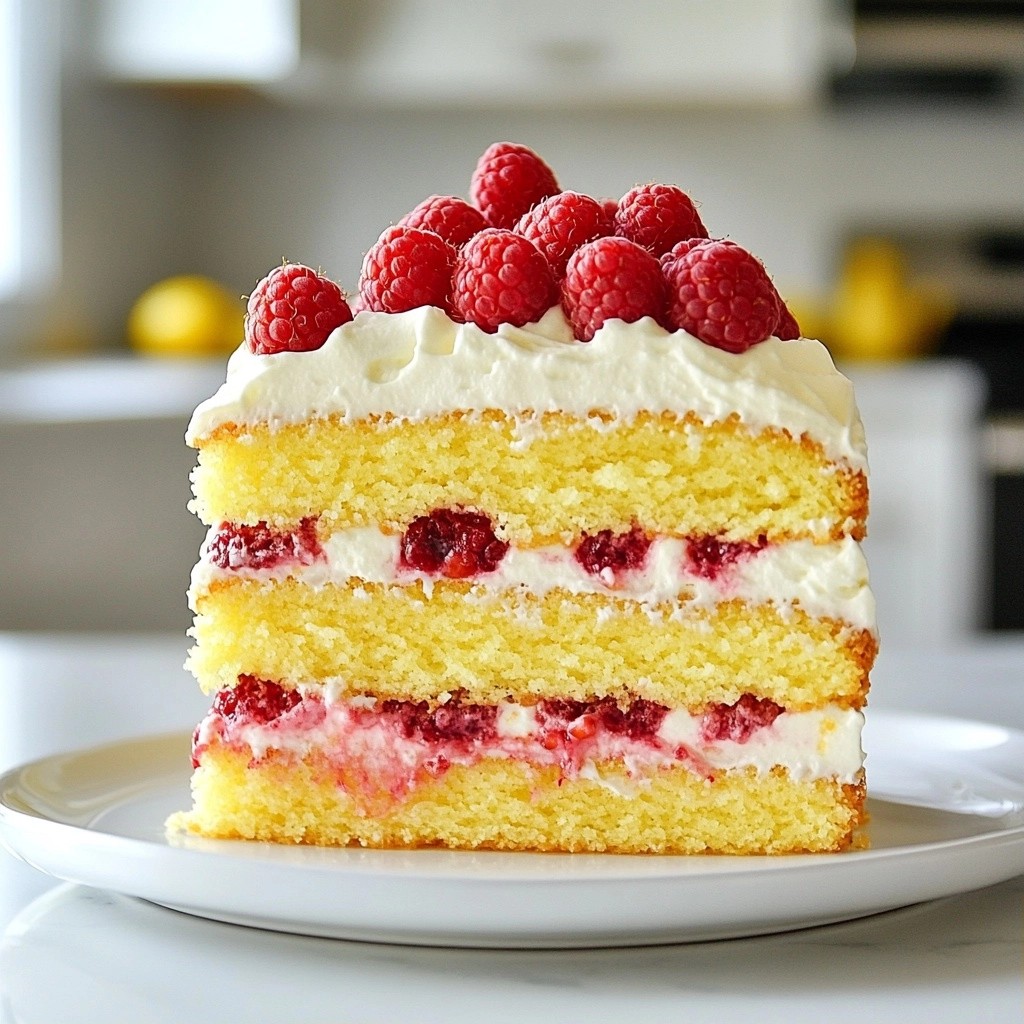
- Raspberry Filling: Layer raspberry jam between the cake layers for a burst of flavor.
Gluten-Free and Vegan Adaptations
You can make this cake fit different diets too. Here are some simple swaps:
- Gluten-Free: Use a gluten-free flour blend instead of all-purpose flour.
- Vegan: Replace eggs with flaxseed meal mixed with water. Use plant-based milk and oil.
- Dairy-Free: Use almond milk or coconut milk in place of buttermilk.
With these variations, you can have fun and make your red velvet cake your own! Enjoy mixing it up!
Storage Info
Storing Leftover Cake
To keep your leftover red velvet cake fresh, wrap it tightly in plastic wrap. This keeps moisture in and prevents it from drying out. You can also place the cake in an airtight container. Store it in the fridge for up to five days. For best taste, let it sit at room temperature for a bit before serving.
Freezing Tips for Red Velvet Cake
If you want to freeze your cake, slice it first. Individual slices are easier to thaw. Wrap each slice in plastic wrap, then place them in a freezer bag. This helps avoid freezer burn. Your cake can stay good in the freezer for up to three months. When you’re ready to eat it, thaw it in the fridge overnight.
Shelf Life and Best Practices
Red velvet cake lasts about three days at room temperature, if covered well. In the fridge, it can last up to a week. To keep it fresh, avoid exposing it to air. Always check for any signs of spoilage. If you see any mold, it's best to toss the cake out. Enjoy your cake while it’s still soft and tasty!
FAQs
What is red velvet cake?
Red velvet cake is a soft, rich cake with a deep red color. It tastes like vanilla with a hint of cocoa. The cake has a light, fluffy texture. It is often paired with cream cheese frosting.
How to make red velvet cake denser?
To make your red velvet cake denser, use less baking soda. You can also add more cocoa powder. Another option is to reduce the liquid in the recipe. This will help create a firmer cake.
Can you use homemade buttermilk?
Yes, you can use homemade buttermilk in your cake. To make it, mix milk with vinegar or lemon juice. Let it sit for about 5 minutes. This gives you a good substitute for store-bought buttermilk.
What to serve with red velvet cake?
Red velvet cake pairs well with many treats. Cream cheese frosting is a classic choice. You can also serve it with vanilla ice cream or fresh berries. A drizzle of chocolate sauce adds a nice touch too.
How to prevent the cake from sticking to the pan?
To stop your cake from sticking, grease the pans well. Use butter or vegetable oil and dust with flour. You can also line the bottom with parchment paper. This makes it easy to remove the cake after baking.
You’ve learned the key ingredients, tools, and steps to bake red velvet cake. I’ve shared helpful tips to achieve a fluffy texture and avoid common mistakes. Remember, variations let you customize your cake with different flavors and frostings. Proper storage keeps your cake fresh, while the FAQs answer any lingering questions. Enjoy baking, and share your delicious results with others! Your journey in cake making can be fun and rewarding.