Looking to whip up a fluffy red velvet cake that will impress? You're in the right place! In this post, I will guide you through simple ingredients, easy steps, and helpful tips to master this classic dessert. You’ll learn how to bake a cake that's deliciously soft and perfect for any occasion. Let’s dive into the world of red velvet cake delight, and soon, you'll be the baking star of your kitchen!
Why I Love This Recipe
- Deliciously Moist: This cake is incredibly moist, thanks to the buttermilk and vegetable oil, ensuring every bite is rich and satisfying.
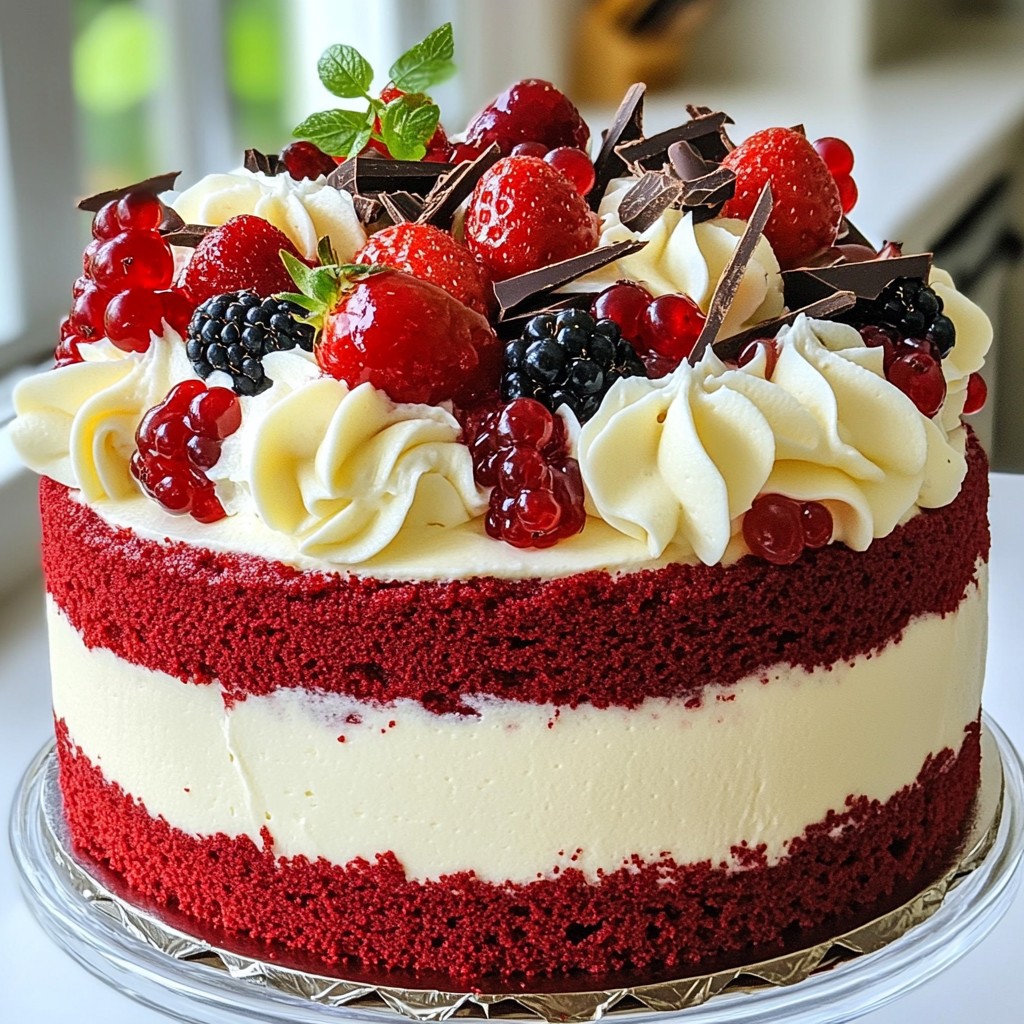
- Stunning Color: The vibrant red hue of the cake makes it a showstopper for any occasion, perfect for celebrations or holidays.
- Easy to Make: With simple ingredients and straightforward steps, this recipe is perfect for both novice and experienced bakers.
- Versatile Frosting: This red velvet cake pairs beautifully with cream cheese icing, chocolate ganache, or even a simple dusting of powdered sugar.
Ingredients
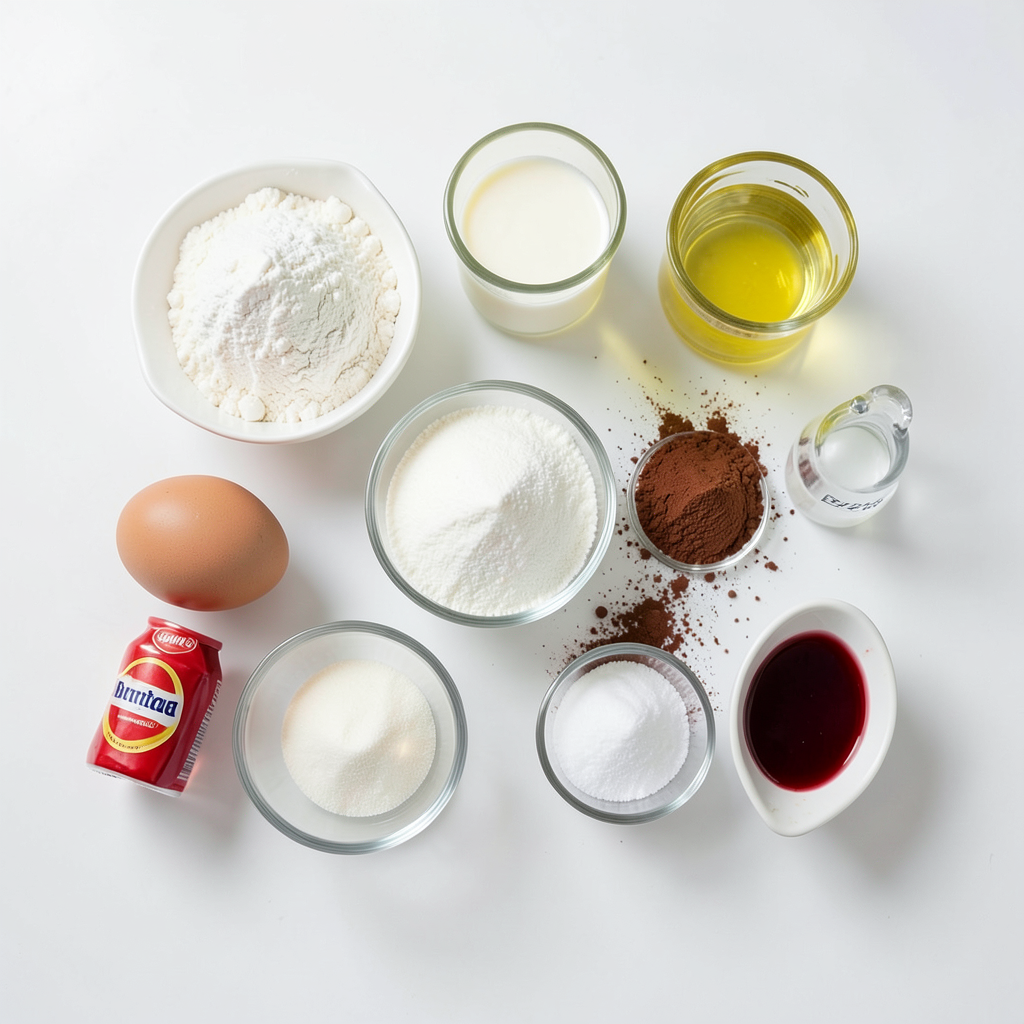
Detailed List of Ingredients
To make a fluffy copycat red velvet cake, gather these ingredients:
- 2 ½ cups all-purpose flour
- 1 ½ cups granulated sugar
- 1 cup vegetable oil
- 1 cup buttermilk, room temperature
- 3 large eggs, room temperature
- 2 tablespoons cocoa powder
- 1 tablespoon red food coloring
- 1 teaspoon vanilla extract
- 1 teaspoon baking soda
- 1 teaspoon salt
- 1 teaspoon white vinegar
Importance of Ingredient Quality
Using good ingredients matters. High-quality flour makes your cake lighter and fluffier. Fresh eggs add moisture and richness. Buttermilk gives that nice tang and helps with texture. Always check the dates on your ingredients. This ensures they are fresh and safe to use. Quality ingredients lead to a better-tasting cake.
Recommended Brands and Substitutions
For flour, I recommend King Arthur or Bob's Red Mill. Both brands are reliable and produce great results. If you want a healthier option, try whole wheat flour, but adjust the liquid slightly. For sugar, you can use organic cane sugar for a cleaner taste. If you need a dairy-free option, almond milk can replace buttermilk. Just add a splash of vinegar to mimic the tanginess.
Step-by-Step Instructions
Prepping Your Baking Pans
Start by preheating your oven to 350°F (175°C). Grease two 9-inch round baking pans. Use butter or oil, then dust with flour. This step keeps the cakes from sticking. Set the pans aside while you prepare the batter.
Mixing Dry Ingredients
Grab a large mixing bowl. In this bowl, whisk together 2 ½ cups of all-purpose flour, 2 tablespoons of cocoa powder, 1 teaspoon of baking soda, and 1 teaspoon of salt. Mixing these dry ingredients well helps to ensure even flavor. Set this bowl aside for now.
Combining Wet Ingredients
In another bowl, combine 1 cup of vegetable oil, 1 ½ cups of granulated sugar, and 3 large eggs. Beat these ingredients on medium speed for about 3 minutes. You want this mixture to be fluffy and light. Next, add in 1 cup of room temperature buttermilk, 1 tablespoon of red food coloring, and 1 teaspoon of vanilla extract. Mix until everything is blended well.
Incorporating Ingredients Without Overmixing
Now comes the fun part! Slowly add the dry mixture to your wet mixture. Do this on low speed. Mix until just combined. It's key not to overmix! Overmixing can make the cake dense. Lastly, in a small bowl, combine 1 teaspoon of white vinegar with the batter. Gently fold this in to add extra fluffiness.
Baking and Cooling Process
Divide the batter evenly between the two prepared pans. Bake for 25-30 minutes. Check for doneness by inserting a toothpick in the center. If it comes out clean, your cakes are ready! Let them cool in the pans for 10 minutes. Then transfer them to a wire rack until they are completely cool. This cooling step is crucial for perfect frosting later on.
Tips & Tricks
Achieving the Perfect Fluffiness
To make your red velvet cake fluffy, start with room temperature ingredients. This helps the batter mix well. Use fresh baking soda for the best rise. Remember to add vinegar to the batter. This helps create air bubbles, making your cake light. Always fold in the vinegar gently for even fluffiness. Avoid overmixing the batter; this can make your cake dense. Mix until just combined for that perfect texture.
Common Mistakes to Avoid
One common mistake is using cold ingredients. Cold eggs and buttermilk can lead to a flat cake. Another mistake is overmixing. This can toughen the cake and ruin the fluffiness. Be careful not to skip the vinegar. It adds a unique flavor and helps with the rise. Lastly, make sure your oven is preheated. A cold oven can affect baking time and texture.
How to Frost and Decorate Your Cake
Once your cake cools completely, it’s time to frost. Use cream cheese icing for a classic touch. Start with a thin layer to seal in crumbs. This is called a crumb coat. Chill the cake for a bit. Then, add a thicker layer of icing. You can decorate with chocolate shavings or fresh berries. This adds color and taste. Use a spatula for smooth edges or a piping bag for fancy designs. Enjoy making your cake look as good as it tastes!
Pro Tips
- Use Room Temperature Ingredients: Ensure your eggs and buttermilk are at room temperature for better emulsification, leading to a lighter cake.
- Don’t Overmix the Batter: Mix the wet and dry ingredients until just combined to avoid a dense cake. Overmixing can lead to gluten development.
- Check for Doneness: Use a toothpick to test if the cakes are done. If it comes out with a few moist crumbs, it’s perfect!
- Frost When Cool: Make sure your cakes are completely cool before frosting to prevent the icing from melting and sliding off.
Variations
Alternative Flavor Profiles
You can change the taste of red velvet cake. Add spices like cinnamon or nutmeg for warmth. Swap vanilla extract with almond extract for a nutty twist. Try using orange zest to give a fresh zing. Each option can make your cake special while staying true to its roots.
Gluten-Free and Dairy-Free Options
For a gluten-free version, use almond flour or a gluten-free blend. Make sure the blend has xanthan gum for texture. To go dairy-free, replace buttermilk with almond milk mixed with a bit of lemon juice. This keeps the cake moist without dairy. These swaps will still give you a soft, fluffy cake.
Seasonal Twists and Add-ins
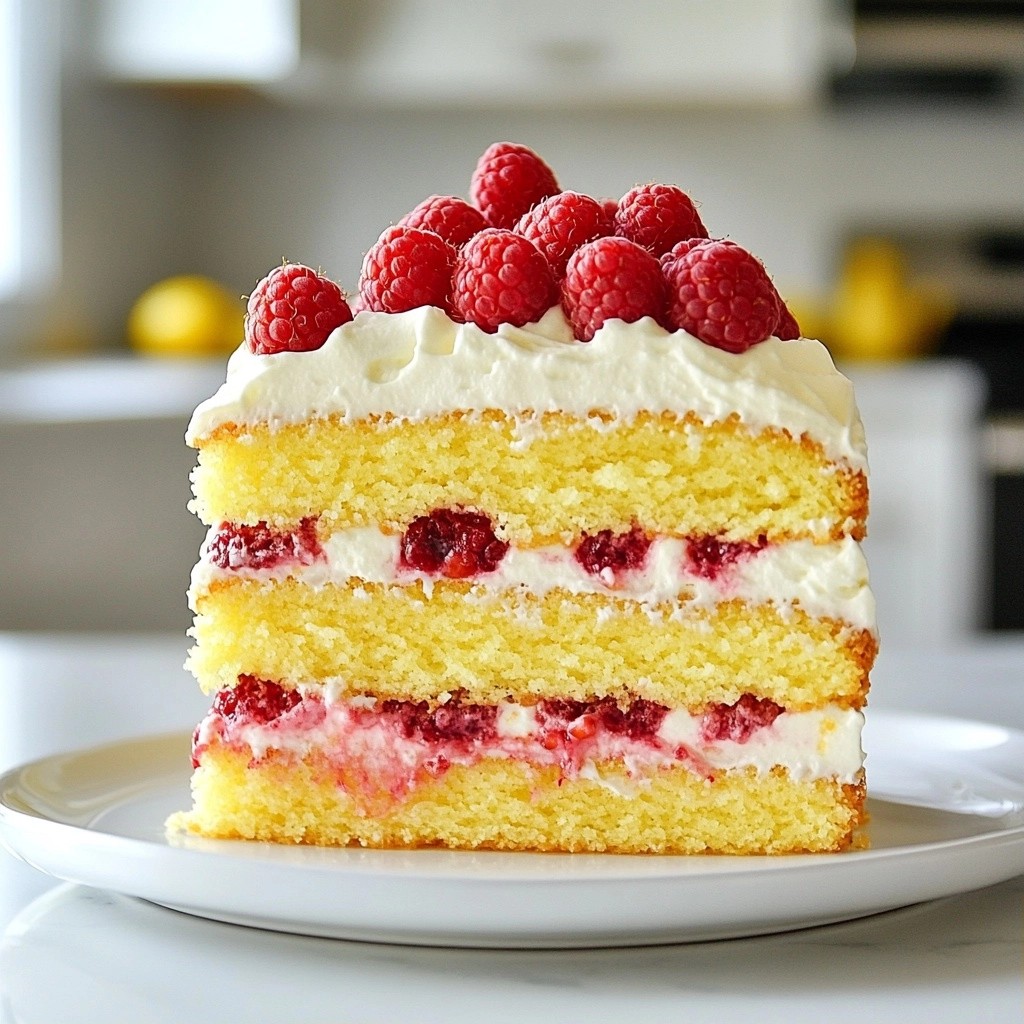
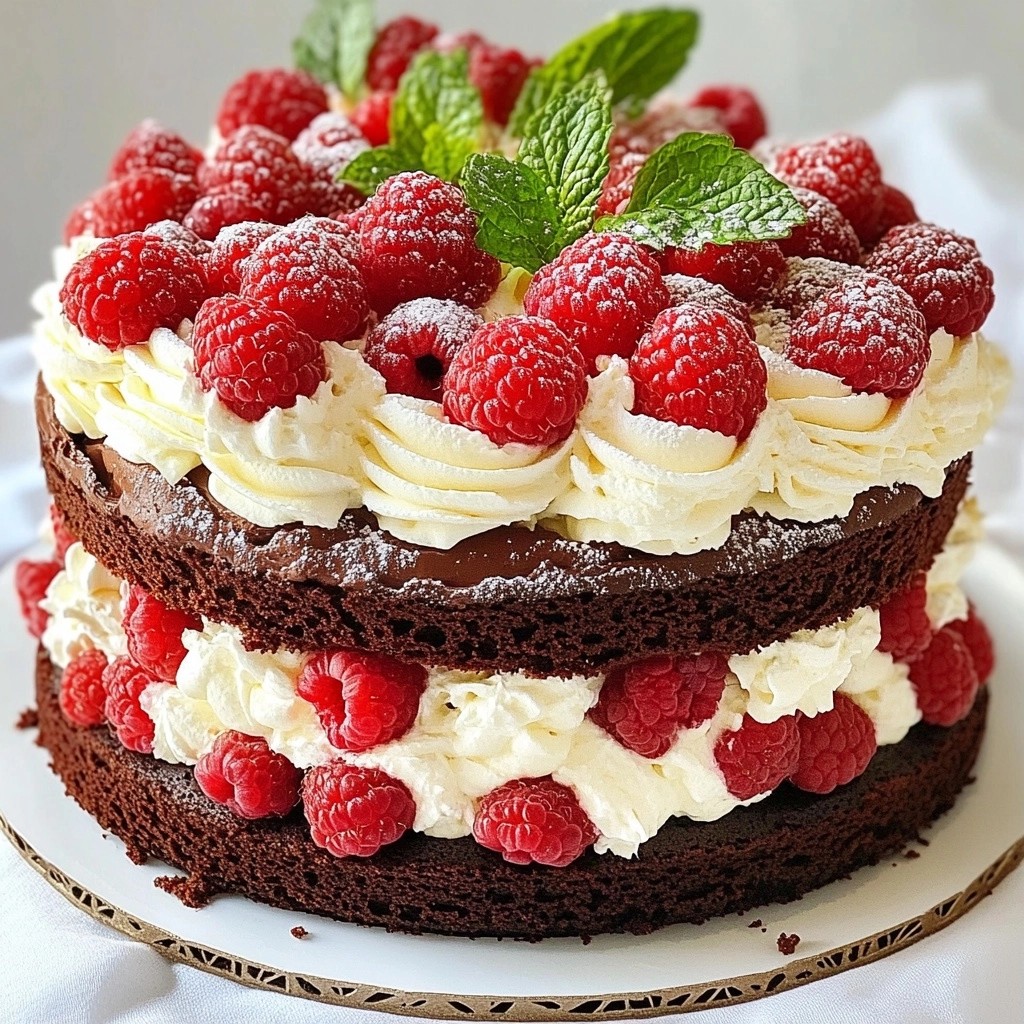
Seasonal flavors can add fun to your red velvet cake. In fall, try adding pumpkin puree for a cozy touch. In summer, mix in fresh berries like raspberries or strawberries. You can even fold in chocolate chips for an extra treat. These add-ins can turn a classic into something fresh and exciting.
Storage Info
Best Way to Store Leftover Cake
To keep your leftover red velvet cake fresh, wrap it well. Use plastic wrap or aluminum foil. Place it in an airtight container. This helps prevent it from drying out. Store it at room temperature for up to three days. If you live in a warm area, consider refrigerating it.
Freezing Instructions
Freezing red velvet cake is easy! First, let the cake cool completely. Next, slice it into individual pieces. Wrap each slice in plastic wrap. Then place the wrapped slices in a freezer bag. Remove as much air as possible before sealing. You can freeze the cake for up to three months. When ready to eat, thaw it in the fridge overnight.
How Long Does Red Velvet Cake Last?
Red velvet cake lasts about three days at room temperature. In the fridge, it can stay good for about a week. If frozen, it can last up to three months. Always check for signs of spoilage before eating. If it smells off or looks strange, it’s best to toss it.
FAQs
What is the secret to a fluffy red velvet cake?
The key to a fluffy red velvet cake lies in the mixing method. You want to beat the sugar and oil until light and fluffy. This adds air to the batter. Also, adding vinegar at the end helps keep the cake light. It reacts with the baking soda, creating bubbles that make the cake rise.
Can I make this cake in advance?
Yes, you can make this cake in advance. Bake the layers and let them cool completely. Wrap each layer in plastic wrap. Store them in the fridge for up to three days. You can also freeze them for longer storage. Just remember to thaw them before frosting.
How do I fix a low cake?
If your cake is low, it may be due to under-mixing or incorrect oven temp. Make sure to mix your batter well but not too much. Also, check your oven with an oven thermometer to ensure it's at the right temp. If the cake is baked too quickly, it won't rise.
What frosting pairs best with red velvet cake?
Cream cheese frosting is the classic choice for red velvet cake. Its tangy flavor complements the cake's sweetness perfectly. You can also try buttercream for a sweeter option or a whipped cream frosting for a lighter touch. Each gives a unique twist to this classic dessert.
Is red velvet cake the same as chocolate cake?
Red velvet cake is not the same as chocolate cake. While both have cocoa powder, red velvet has a unique flavor profile. It often includes buttermilk, vinegar, and a hint of cocoa, making it rich but not overly chocolatey. The red food coloring also sets it apart visually.
This article covered the key steps to making a great red velvet cake. We discussed ingredient quality, prep, and baking methods. I shared tips for fluffiness and common mistakes to avoid. You learned fun variations, storage tips, and answered key FAQs.
Remember, quality ingredients make a big difference. With practice, you'll create a delicious cake every time. Enjoy baking and impressing your friends and family with your skills!